Social Media Buttons

Showing posts with label DIY. Show all posts

4.24.2014

DIY: Modern Inpirational Quote Art


A well placed inspirational quote can really put a smile on my face whether I'm having a good or not so good day. This artsy DIY is so easy and will only take about an hour of your time (not including dry time). Easily personalized and perfect for any room needing a few inspirational words. Here we go!

Step 1: Gather Materials
(All items from purchased at Michaels)
  • 1-2 sheets of tissue paper
  • Mod lodge
  • Foam Paint brush 
  • Small paint brush 
  • Acrylic paint (I used black)


Step 2: Apply Mod Podge
Here we are using mod podge as our adhesive for the next step of applying tissue paper. 

Using your foam brush apply a thin coat of mod podge to the blank canvas board. Make sure your coat is an even thin layer. Apply to the sides as well.


Step 3: Placing the  Tissue Paper

Gently place the tissue paper over the canvas with enough paper to cover the sides of the board.


Step 4: Pressing the Paper

Using your foam brush gently press the paper to the board removing any bubbles and creating a smooth finish. Be extra careful to not rip the damp paper.


Step 5: Sealing 

With an extra gentle hand, apply a thin even coat of mod podge to the top of the tissue paper to seal the paper to the canvas and create a shiny top coat.


Step 6: Hand Write Your Message

Using your acrylic paint and a thin paint brush hand write your inspirational quote. This would look beautiful with calligraphy handwriting. I recommend practicing first on a scrap piece of paper before writing on your canvas.  Stencils or letter stickers would also work well here. Play around with font shape and size. Have fun!


Step 7: Apply Final Coat of Sealant

Apply a final coat of mod podge over your quote (after it has dried) to provide a shiny top coat and keep everything in place.


Step 8: Display!!
 After everything has dried, I would wait 24 hours just to be safe, and then hang in your favorite place. I've used mine to decorate my workspace where I make all my jewelry orders. You can visit my jewelry shop Calypte Collection here. I love having inspirational quotes in a place where I do my work. This DIY would also be great for many area in your home, mantels, tabletops, anywhere!

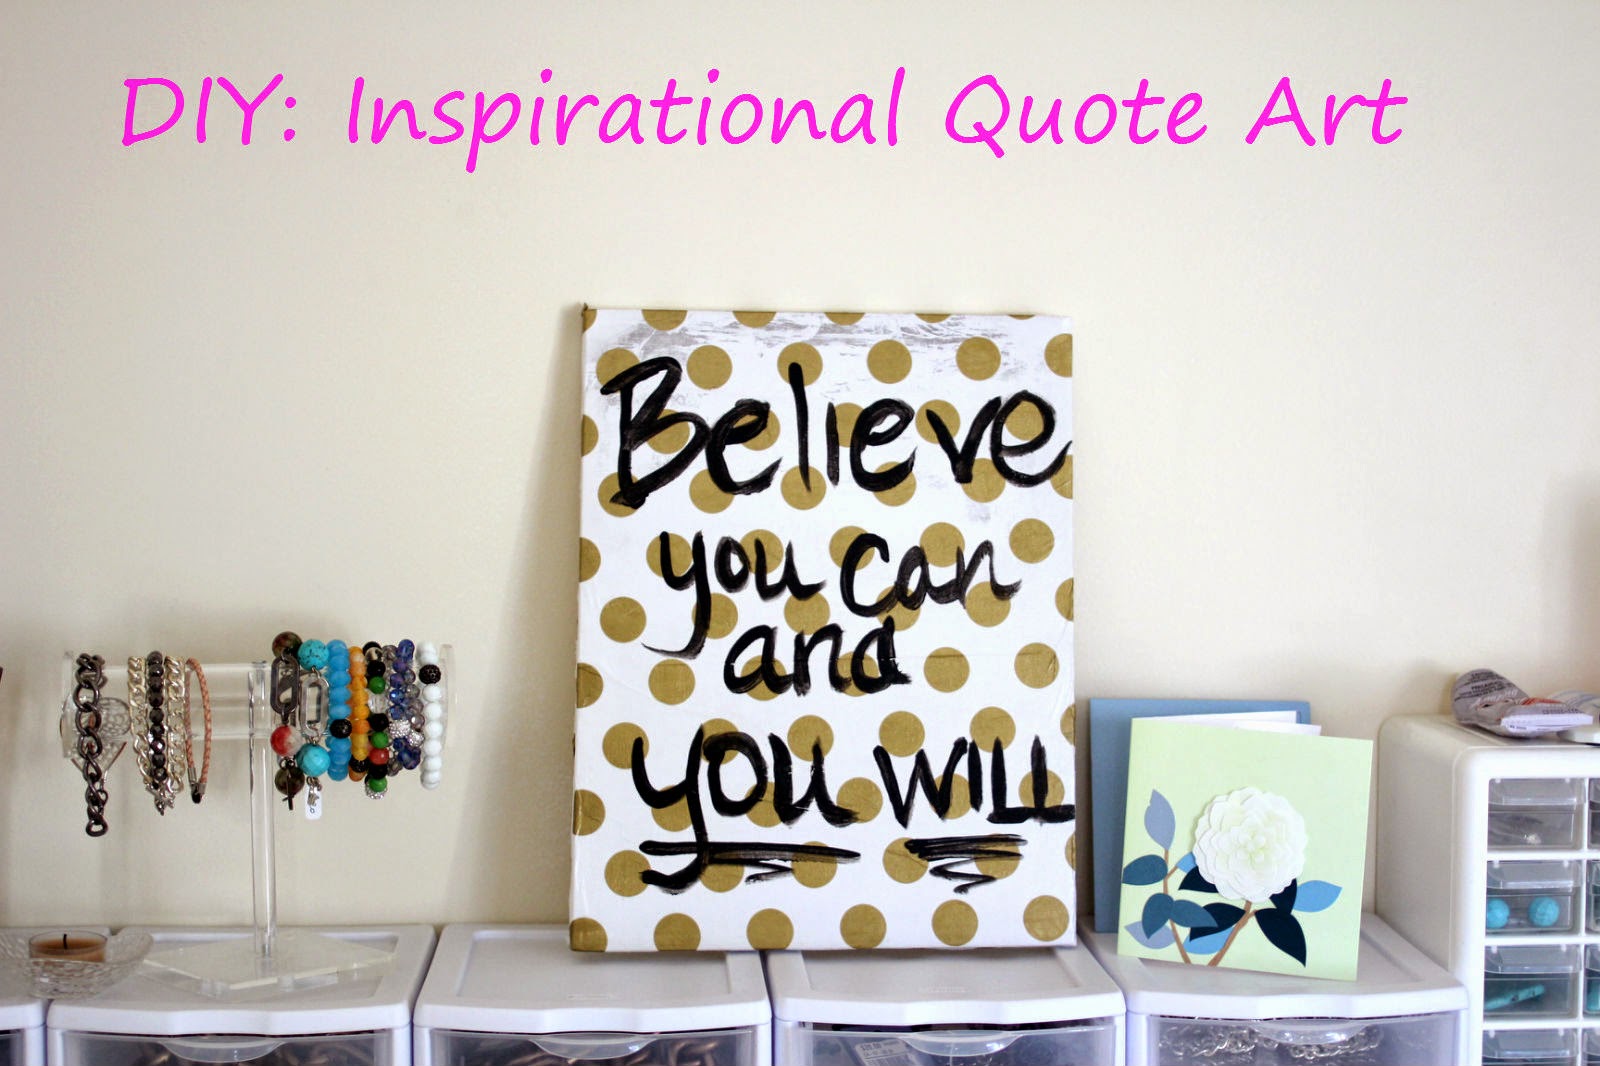

How about you? What's your favorite inspirational quote? Let us know in the comments below!

Enjoy,
~Carol

p.s. I just saw this similar post for a lettered vase diy from, A Fabulous Fete I love it! It's so pretty and such a clever idea. 


3.27.2014

DIY: Copper Spike Black Crystal Earrings


Click here to find these earrings in my Etsy shop!

The simplest ideas are always my favorite. They're over in a pinch, who doesn't love immediate satisfaction! For this project, I used a Swarovski crystal and an edgy copper spike for some fun earrings that can be worn when you want to dress up or dress down.  This is a great beginner DIY project if your new to jewelry making.


Lets Get Started

Step 1: Gather materials. For one earring- 2 jewelry pliers (I used curved chain-nose pliers and chain-nose pliers), 2 small silver jump rings (5mm), 1 small metal spike bead, 1 silver ear wire and 1 crystal owlet bead


Step 2: Gently open jump ring using your 2 jewelry pliers and a light twisting motion. Attach one end of the crystal to the loop of the earwire  


Step 3: Open the second jump ring and attach the metal spike to the open end of the crystal. 


Step 4: Gently twist the jump ring closed and your done. Repeat all steps for the second earring and you're ready to wear!


Easy peasy, right? 

I've created a few more spiked jewelry pieces in my line, you can check them out here and here.  

Please leave me a comment below and let me know if you try these!

Enjoy! 

xx, Carol

8.21.2013

DIY Silver Leaf Foil Moleskine Notebook

I have always love Moleskine notebooks but for some reason I have never owned one.  Well I finally did it, i bought them!! Now to decorate and make them my own with some silver leaf foil.  Here's how I did it.

Start with your favorite Moleskine notebook (or any other) blank book.

Apply adhesive in your favorite pattern. I chose stripes and triangles. I like using the pen that comes in a kit with the foil. I got mine from Michaels.


Gently lay a piece of silver leaf over the adhesive and tap down with a soft foam or bristle brush. After you've waited 5-10 min for it to become tacky lift off the strip of foil and you should have silver foil attached to wherever you placed your glue. Use your brush again to gently tap the silver onto the adhesive just for good measure. 


Gently rub off the excess foil with your brush apply a glossy sealant and your done! I used a clear glossy sealant from Valspar. I changed my mind about the triangles, so i just reapplied some glue and foiled over those gigantic triangles. No need to aim for perfection. I like the little pieces of peek-a-boo purple through the foil.


Have fun with your pattern and make them your own! I carry mine around with me in my purse for all those brilliant little notes that I don't want to forget : )

8.16.2013

FRIDAY FIVE-Things That Make Me Say Yeah!

My new succulent holder, a recycled DIY project coming soon to the blog. 


Calypte Collection supporters and making jewelry for them! Find these earrings here


Finding new iced tea flavors, I have a slight obsession with iced teas, ok maybe not so slight. 


The new to me iPhone wallpaper from Cotton & Flax you can download here


Last but never least, my crazy fun friends who are hilarious and are teaching me to scuba!


Thanks for stopping by! What are five things your grateful for? Let me know in the comments, that's where the magic happens!

Have a great weekend!

Carol

8.07.2013

A Little Weekend DIY

I had so much fun this weekend! My bestie and I got to hang out with Chelsea from Lovely Indeed and Kelly from Studio DIY. We hung out at West Elm LA for a little geometric garland creation fun.


 Have you heard of a Cronut? Well let me tell you! A croissant-donuts hybrid, what could be better? Croissants are amazing and I have a weakness for donuts so the marriage of the two is like a gift from heaven! 


We meet some really fun people at the event. Blogger Jaime from Paint The Gown Red, Christina from Cascadehermann, and Andrea from Legal Miss Sunshine.

I just love makers, crafters, DIYers! Look how talented they are, our gifts (just for attending) were packaged so cutely we didnt want to open them. Ha!


We had such a blast! I'm excited to attend more event in the future!  This event was posted through Skillshare, a very cool site where you can meet and learn and do with fellow makers. Have you attended any events through Skillshare? What did you learn? Let me know below, I'd love to check them out!


1.08.2013

WINTER DRY SKIN REMEDY

This winter weather had made my skin so dry! It seems like my hands have never been as dry as they have been recently. I'm a chemical free kinda gal and I look to nature and clean non toxic kinds of products as much as I can. I've been applying coconut oil and Shea butter to no avail but thankfully I figured out a solution to my dry skin woes that I want to share with you! This nightly routine has has really saved my skin!

Directions:
Step 1:: Melt 2 tbs coconut oil until is runny and while still slightly warm apply to your hands.

Step 2:: wear cotton gloves overnight to seal in moisture

Step 3:: wake up with super soft, moisturized skin!!

During the day, I swear by my favorite hand cream by Weleda. It has a wonderful citrus herbal scent that is wonderful. I apply in small amounts, directly after hand washing, focusing on the cuticle area first.


7.17.2012

ORGANIC SEA SALT SPRAY & DIY RECIPE

When I was a kid I loved going to the beach, getting in the water and swimming in the waves.  I also loved how my hair had awesome beachy waves when I got out of the water!  As an adult, I still love the beachy wavy hair look and I want to share with you a product that I use and absolutely LOVE. John Masters Sea Mist Sea Salt Spray

I try to only use all natural, chemical free, organic face and body products whenever possible and I use this one almost daily!  My hair is now super thick and very straight so  I primarily use this spray to give my volume and that extra touch of texture necessary for styling.   I've tried other sea salt sprays but I keep coming back to this one because it has organic lavender in it which is great for protecting your hair from the dryness salt gives you.  Also, I try to only wash my hair every other day, so on the second day I just add a few spritz of my sea salt spray to absorb any excess oil and I'm good to go.


 Now if your anything like me, your thinking "...hmmm salt, lavender and water, I can do that!" Being the crafter, creater and penny pincher that I am, I often make my own sea salt spray cause it's sooo easy! Here's all you need:


 SEA SALT SPRAY RECIPE
♥ 1 clean spray bottle. 8 fl. oz. to 10 fl. oz.
♥ 8 fl. oz. of distilled or filtered
♥ 1 tsp. finely ground sea salt.

♥ 3-5 drops of essential oils: I used lavender to condition and add shine, however other oils have several wonderful benefits. Ylang ylang works great for sensitive skin and problem scalps. Rosemary is great to help deepen the color of brunette's hair and chamomile brightens blonds. Use 3-5 drops.Tea Tree Oil is great for sensitive and oily scalps. If you have oilier hair, this is the great because it won't make your hair oilier or weigh it down. Use 3-5 drops.
♥You can add a little more sea salt if you have oilier/thicker hair. However, the more salt you use, the more it will dry out your hair. BUT the more you use, the "beachier" your hair will look.  Only add 1/4 tsp at a time until you reach the desired level. 
♥ Lastly, make sure to take notes so you know how much to add when you want to make more!

My favorite store for herbs is my local organic health food market, however, if I need something online or in bulk, I go to Mountain Rose Herbs, I also use Celtic Sea Salt Brand because of the purity of there product.  Not just for cooking!

I hope you all enjoy this post, show me your beachy waves and share below what oils and scents you add to your own recipes!!

♥ Carol